Editing your own Levels
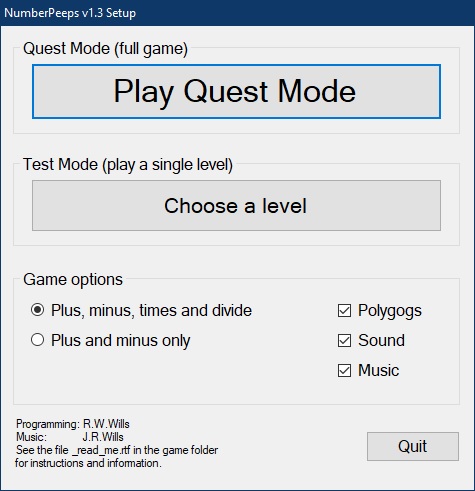
In the
Setup window you can select “Edit levels” to enter the
editing mode. In the editing window, either click “New
level” to start with a new blank level or “Choose a
level” to open an existing one.
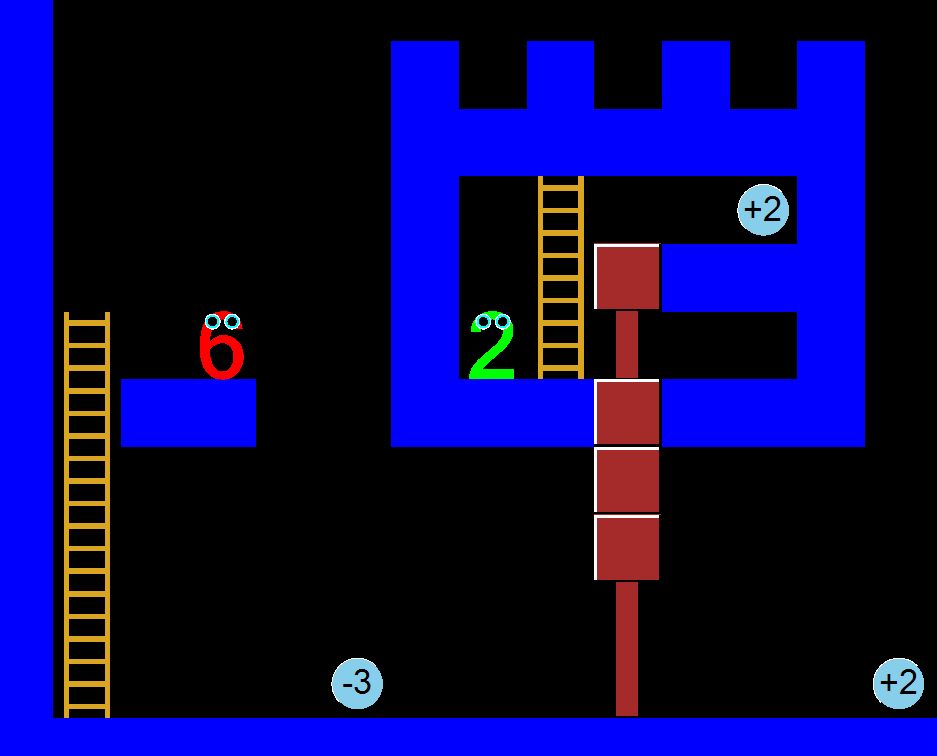
To edit the level, use the left and right mouse buttons:
• Left-click in the level to toggle between solid and empty.
• Left-drag from the items on the right to place them in the level.
• Right-click in the level to repeat the last thing added.
• Right-click on the arithmetic pill in the items on the right to change its value.
Change the level number and the size of the level using the three numeric boxes.
Use the "Select Area" button to edit whole rectangular areas. Once you
have selected an area you can use "Clear" or "Fill" to empty or fill
it, or "Copy" to store it. After "Copy" use "Paste" to copy the
rectangular area to a new location. Beware that by doing this you can
introduce bugs or make the level impossible.
Remember to save your modified level before exiting the editor.
In Quest mode
NumberPeeps only uses level files which are set to “readonly”. This is
so that levels you’ve edited but maybe not finished don’t get used, and
levels which are for Quest mode can’t be accidentally overwritten in
the editor. You can set or clear the readonly attribute by right-clicking and using the "Quest Mode" option in the
level-choosing screen. Be careful to only add levels to Quest mode when
you’re sure they are possible to complete.
Test your new levels carefully as it’s easy to make levels which
are impossible to complete. The game also doesn’t check movements
out of the level edges; you must make sure that peeps or polygogs
can’t move outside by using enough solid rock (although
it’s safe to leave the top open).
Installing